• Skip to main content

Escapology BJJ

escapologists welcome.

  • Home
  • About
    • About Tom Barlow
    • About Chelsea Leah
  • Academy
    • Take A Tour
    • Reviews
    • Classes
    • Schedule
  • Online
    • Log In
    • Students
    • Instructors
  • News
  • Free Trial

Escapes

The Egg

A Simple Way To Develop Water-Tight Defences

I remember when Alex started training Jiu Jitsu. He was athletic, good at scrambling, and had the heart of a lion.Because of these attributes, if he got on top, he would often catch his training partners in submissions or

However, the moment he got stuck on his back defending, he turned from a mat monster into something more like Bambi skating on ice. His arms and legs would be everywhere, and he’d try and bench press his partners off instead of using a solid technique.

Inevitably his opponents would pass his defences like butter and end up in a strong attacking position.

And at some point in your Jiu Jitsu journey, I’m sure you’ll have experienced this too. You got stuck on the bottom, and no matter how hard you fight your opponent breaches your defences and squash you like a bug.

Often the problem is not your ability to sweep or submit your opponent, instead, the problem is you are exposing your defences and making yourself vulnerable to attacks

A few years ago, I noticed this was a common problem in my beginner students. So set about creating a way to help teach them basic positional defence and guard recovery.

Enter The Egg Drill

After a little trial and error, the Egg was born (maybe laid is apter)

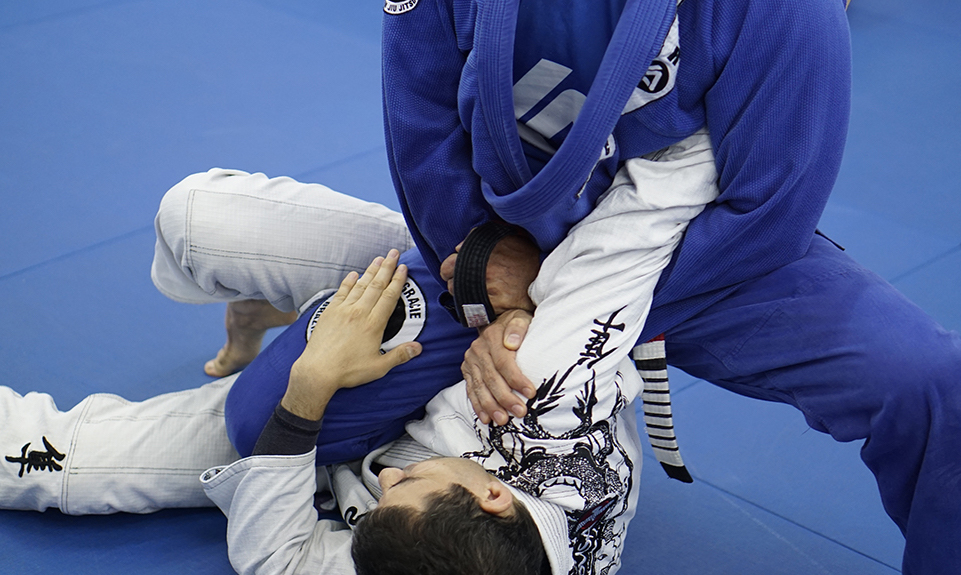
The fundamental principle behind the egg is to create a defensive shell. To do this you keep your elbows and knees tight to your body, and your chin tucked.

If you do this correctly, it becomes incredibly difficult for your partner to attack you regardless of the positionthey are in plus they will find it tough to stabilise any dominant position.

Now, before we go any further, this is just a drill or concept. It is not supposed to be specific technique, and if you’re sparring I would not advise you using this as your primary form of attack

However, if you are continually getting your guard passed or easily submitted, practising this drill will be of great benefit to you.

Essentially, there are three parts to this drill with each part building on the last. The drill starts by teaching you how to keep your defences tight, then progresses with how to recover guard, and finishes with how to you can use the concept in sparring situations.

Below you’ll find the thought process behind each part of the drill and video outline how to perform it.

Part 1: Understanding The Egg

The first part of the drill is simply getting used to keeping a tight defensive and demonstrate how easy it can be. To do this, you have to keep your elbows and knees tight to your body and keep your chin tucked in tight.

There should be no space for your partner to get inside of the frame and they shouldn’t be able to separate your limbs from your body.

When you can do this effectively, it becomes very hard for you opponent to set up any submission opportunities or stabilise a dominant position.

The video below shows how to perform part 1 of the Egg drill. The first time you do this, it’s a good idea to start slowly and gradually increase the pressure as your partner develops the defensive capabilities.

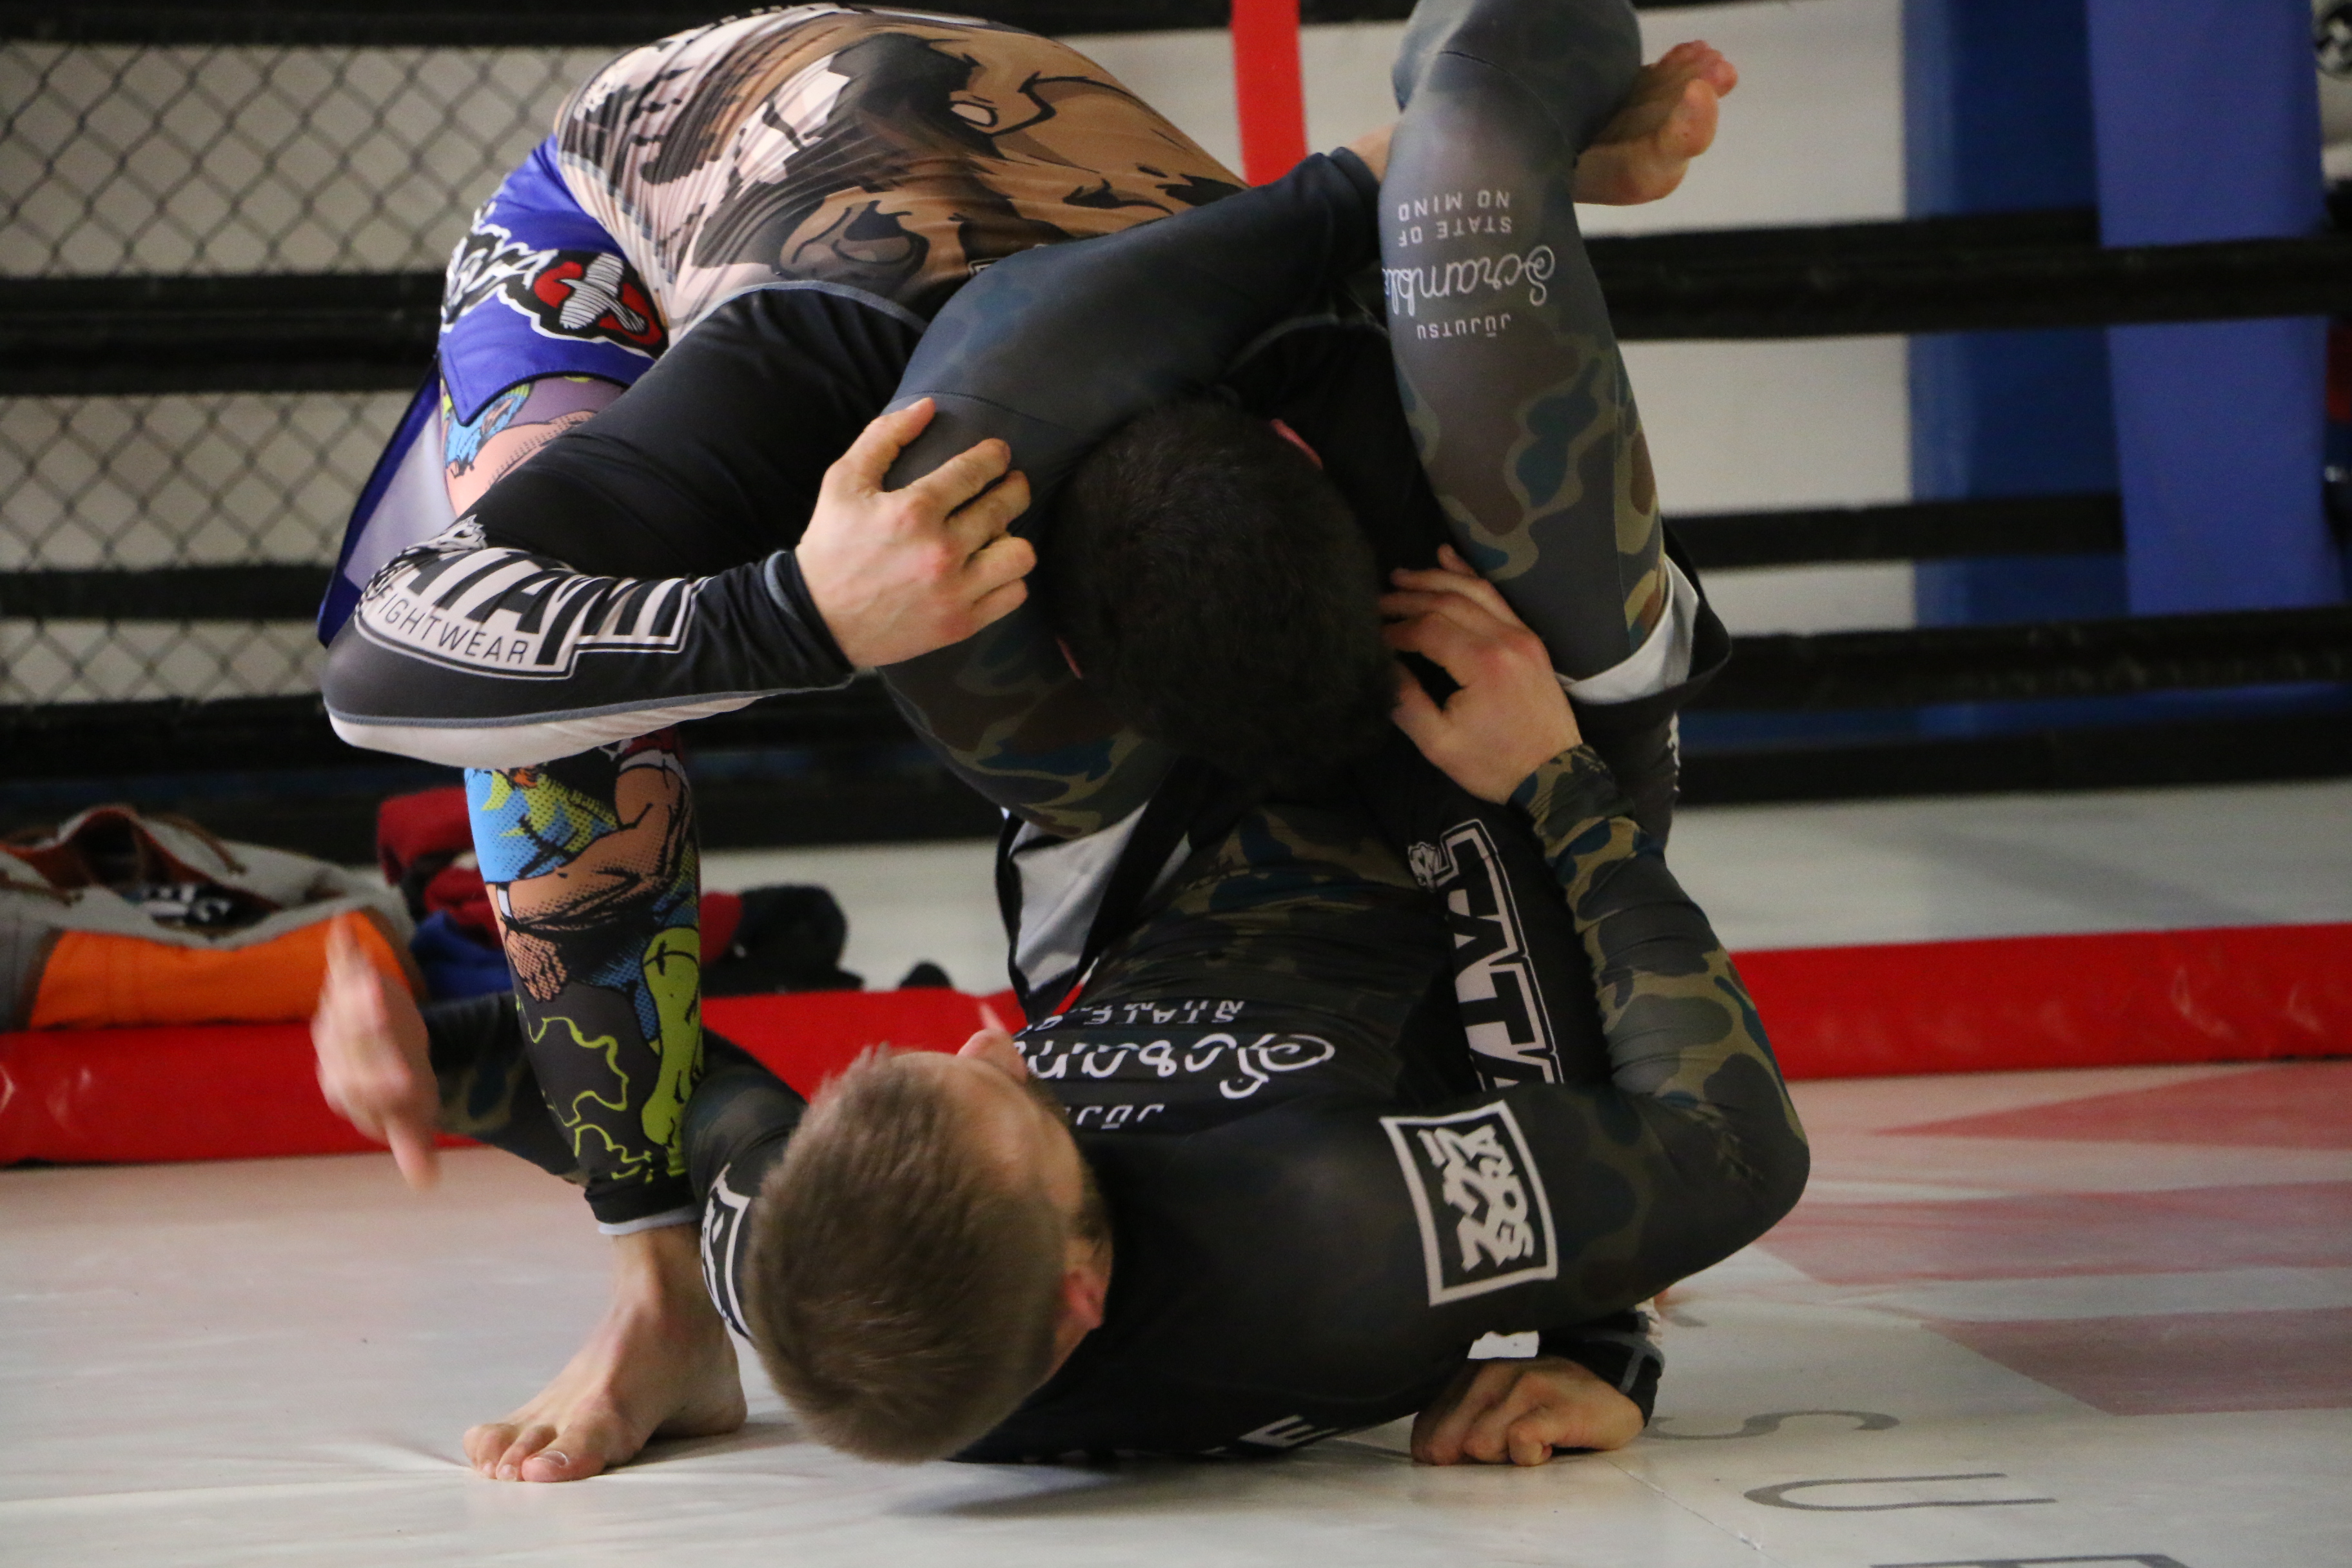
Part 2: Defending The Egg

Once you get comfortable with the defensive position, the next step is to stop them getting around your guard.

It is impossible for your opponent to be attacking both sides of your body at once. Consequently, you can use the side they’re not attacking to defend your opponents pass attempts or recover guard.

The second part of the drill is the start of integrating the Egg concept into sparring. Check out the video below to see exactly how to do part 2 of the drill.

Part 3: Opening The Egg

Obviously, keeping your hands connected to your shins and your legs tucked into your body isn’t an effective way to play Jiu Jitsu. Consequently, the final part of the drill is all about how you use the Egg concept within your Jiu Jitsu.

The video below shows how to perform part 3 of the Egg drill.

How To Become One With The Egg

Like almost technique or concept in Jiu Jitsu, you need to practice the Egg to make it instinctive and be able to use it when you need to.

However, this is relatively easy. Simply take some time before or after your regular Jiu Jitsu training and practiceeach of the drills in order.

A short training plan (less than 15 minutes) could look something like this.

The Egg Part 1: 2 x 1 min rounds (alternate attacker and defender)
The Egg Part 2: 2 x 1 min rounds (alternating)
The Egg Part 3: 2 x 1 min rounds (alternating)

Remember, gradually increase the intensity as your partner improves, and if your partner is struggling to take the intensity back a notch.

If you did this plan for a month I can guarantee your guard retention and defence would increase dramatically. This short training plan also at as a great warm up for any guard training or defensive work.

If you enjoyed this article or found it useful, leave a comment below and let me know. I always appreciate the feedback.

Get Performance Drilling Now

To get your FREE copy of Performance Drilling and discover how to train like a world champion click the button below.

Get your FREE copy now!

Filed Under: Uncategorized Tagged With: Escapes, Guard Retention, The Egg

Simple Knee On Belly Escapes

There are few positions in Jiu Jitsu as painful as Knee on Belly. When you get someone that understands how to control the position, it can feel like a baby hippo pressing down on your chest.

I’ve seen many people tap (and a few go to hospital) just from the pressure of the Knee on Belly position. Personally, anytime I end up in that Knee on Belly I try to escape as quickly as possible.

So how do you escape the knee on belly position?

Whether it’s Knee on Belly or any other position, your first line of defence is ALWAYS prevention. To prevent Knee on Belly, you can use your knee and elbow as a shield on the same side as your opponent.

For example, if you’re in bottom side control; your knee and elbow closest to your opponent should be ready to block any attempt they make to bring their knee on your stomach.

But what if you can’t do that?

There are a couple of other options, and the video below covers two of my favourite knee on belly escapes. Check out the video below:

As with any technique, you need to practice to get it to work for you. The simplest way to do this is to spend a few minutes before or after your regular class drilling the technique and then specific training from Knee on Belly.

Within no time, escaping knee on belly will be a piece of cake!

Sick of getting stuck under your opponents?

If you’d like to master the art of the escape and never have to worry about getting crushed under an opponent again, check out the 10-part Art Of The Escape instructional.

Click the button below to learn more…

Get The Art Of The Escape Now

Filed Under: BJJ 101, Technique Tagged With: Escapes, Knee On Belly

3 Essential Concepts To Defend Any Submission

Every Jiu Jitsu player knows the feeling a split second before they get caught in a submission. It’s the moment you realise you’ve made a mistake and there’s nothing you can do about it. Your only option is to tap and nurse your battered ego.

Don’t get me wrong, getting submitted in training is a good thing. It means your training in an environment that will help you improve and that you’re expanding your comfort zones.

When Should You Tap?

Before we go any further, I want to share my thoughts on when you should tap. I see a lot of people pointlessly get injured because they try to fight out of a submission that’s locked on.

Once a submission is locked in tight, completing it has little to do with technique. Finishing a submission is mostly just strength. Consequently, once a submission is locked in tight, there is little you can do about it except either tap or break.

Personally, I’d like to be able to train the next day, so I fight with everything I have until a submission is locked tight, as soon as that happens I tap. And I advise all my students do the same.

Timing Is Everything

Ok back to defending submissions. Regardless of whether you’re a seasoned world champion black belt or a brand new white belt, how you react in the moments before a submission is locked in tight will dictate whether you tap or not.

And as with any bad situation, prevention is always the best option. The longer you allow a bad situation to progress the worse it will become.

Where a lot of people go wrong is they react too late. They only start defending the submission once it’s locked in. That should be your last line of defence not your first.

If you think about it, there are several things your opponent has to do before they get the submission. They have to set the right grips. They have to create the right angle. They have to open your opponent’s defences. And they have to transition into the submission.

At any of these points, you can stop their submission attempt in its tracks and force them to change their attack. In this article, we’re going to look at three key concepts that will allow you to defend against any submission.

Concept #1: Killing the Angle

Most submission attacks require your opponent to create an angle on you.

Take the triangle, for example, if your opponent is square on to you then it will be much harder to finish the attack as the pressure on the neck will be wrong.

The same applies to goes for armbars, leg locks, chokes, and just about every other submission.

Consequently, if you can kill the angle before your opponent starts the submission attack, you’ll never need to defend it. The video below explains this further and covers a few examples.

Concept #2: Centre Line Control

Controlling the centre line is very closely linked to killing the angle. Anytime your arms cross the centre of your body or your opponent’s body; you’re putting yourself at risk of submission.

An excellent example of this is the arm bar from closed guard. To apply an armbar effectively, your arm must be in the centre of your opponent’s body. If you stop this, there is little risk of the submission.

If you can control the centre line, you’ll be in an excellent position to avoid countless submission attacks. Check out the video below to see exactly what I mean.

Concept #3: Lines of Defence.

The final submission defence concept I want to share with you is lines of defence.

When I think about defending submission, I look at it as though there are three different times to defend.

Firstly, you can defend before the submission ever happens (we talked about this earlier with killing the angle and centre line control)

Secondly, you can defend during the submission. That would be something like hiding your arm as your opponent tries to arm bar you.

Your final line of defence is a split second before you’re forced to tap. This could be something like the hitch-hiker armbar escape or pulling the knee open during a knee bar. This video covers what I mean:

Be Safe Before You Escape

To close, I want to share one final thought about submission escapes.

Keep in mind whenever you’re defending a submission your primary objective is to escape the submission NOT to sweep or submit your opponent.

Sometimes your submission counters my result in a reversal or submission opportunity, but these should are by-products of your defence, not your goal.

Always remember, you have to be safe before you can escape.

Before you go… would you like more BJJ related concepts, techniques, and tactics delivered straight to your inbox?

If the answer is yes, join our exclusive newsletter and get a FREE copy of Performance Drilling. To get started click the button below:

Get your FREE copy of Peformance Drilling

Filed Under: BJJ 101, Concepts, Technique Tagged With: Concepts, Escapes, Submission defence

Copyright © 2025 · Gymdesk · Privacy Policy · Terms · Safeguarding · Contact · Log in